
If you’re tired of dealing with water pooling on your driveway after heavy rainfall you might want to consider installing a driveway drainage channel to help drain the water away.
In this post we will walk you through the steps required to correctly install a driveway drainage channel and what you need to know about doing so.
Whether you are looking to hire a drainlayer to install it for you or you want to do it yourself, there are a number of things you should know to insure it is done correctly.
We’ll also provide tips on how to properly maintain your drainage channel to ensure its longevity.
Steps to Installing a Driveway Channel
Here are the steps you need to take when installing a driveway channel:
1. Assessing Your Drainage Needs
The first thing you need to do is assess your needs and figure out the best solution for you.
You’ll want to start by examining the slope of your driveway and identifying any low points or areas prone to pooling water. These areas will require special attention when planning your drainage system.
Additionally, consider the average rainfall in your area and the amount of water runoff your driveway receives. This will help determine the size and capacity of the drainage channel you will need to install.
Take note of any existing underground utilities or obstacles that may affect the installation process.
Doing a thorough and accurate assessment at this stage of the process will ensure you end up with a drainage system that is adequate to your requirements.
2. Gathering the Necessary Tools and Materials
Now that you know when you need to build, you will need to gather all the essential tools and materials required to successfully set up a reliable system for water runoff.
To install a driveway drainage channel, you will need a few key items.
The first is a shovel or a trenching tool to dig the trench where the drainage channel will be placed, as well as a level to ensure that the channel is installed correctly and at the proper angle for water flow.
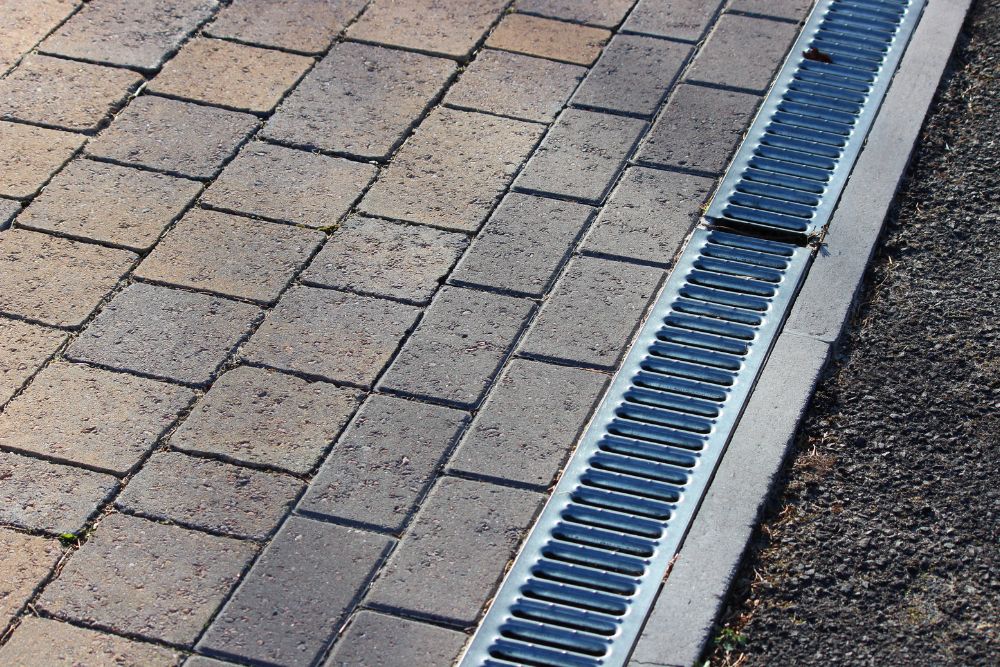
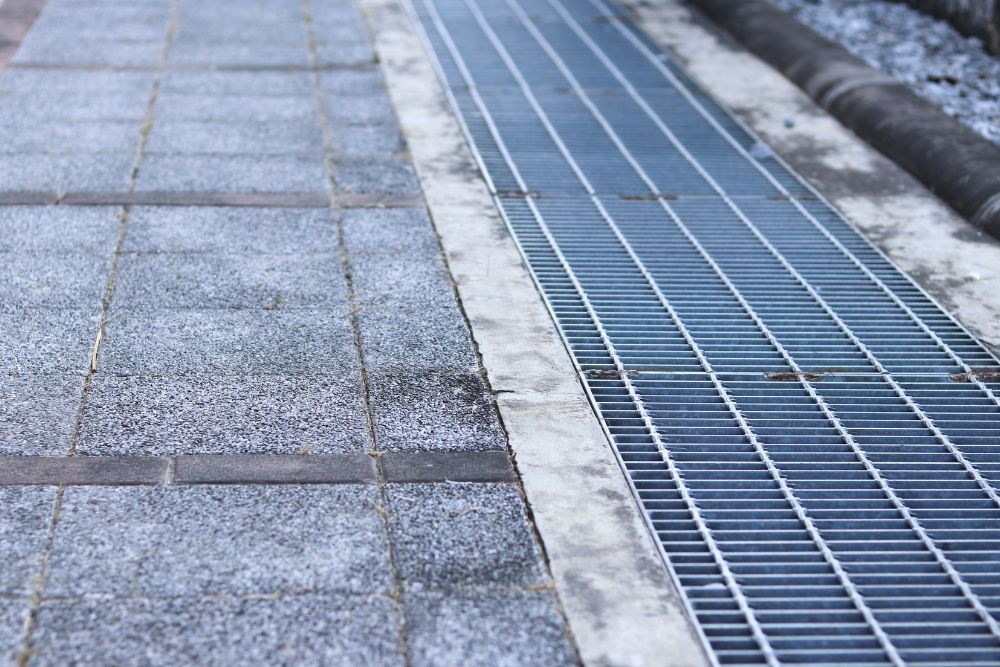
You will also need the drainage channel itself, which can be made of various materials such as plastic, concrete, or metal. It is important to choose a channel that is suitable for your specific needs and the type of driveway you have.
Lastly, you will need gravel or crushed stone to fill the trench and provide a stable base for the channel.
3. Preparing the Driveway Surface
Before setting up the driveway channel, it is crucial to properly prepare the surface of your driveway.
Start by removing any existing debris such as leaves, dirt, and rocks from the area. Use a broom or a leaf blower to clear the space.
Next, inspect the driveway for any cracks or uneven areas. You’ll want to fill in any cracks with a suitable crack filler and use a leveling compound to smooth out any uneven spots. It is important to ensure that the surface is even and free of any obstacles that may hinder the proper installation of the drainage channel.
Finally, thoroughly clean the surface using a pressure washer to remove any remaining dirt or grime.
Following these steps will ensure you have a clean and level surface ready for the installation of the driveway drainage channel.
4. Installing the Drainage Channel
To get started, you’ll need to lay down the drainage channel in the designated area of your driveway surface.
Begin by measuring and marking the location where the channel will be installed. You can use a string or chalk to ensure a straight line.
Once marked, dig a trench that is wide and deep enough to accommodate the channel. Make sure the trench is sloped slightly towards the desired drainage point to allow for proper water flow.
Next, place the drainage channel into the trench, ensuring it is level and aligned with the driveway surface. Use a level to double-check the alignment.
Once the channel is in place, backfill the trench with gravel or sand, making sure to compact it tightly around the channel for stability.
That’s it! Your drainage channel is now installed and ready to effectively manage water runoff from your driveway.
At this point you can lay down the finishing surface if you are installing the channel where there will be tiles or concrete, as well as put down the grate on the channel.
Ensuring Proper Maintenance and Longevity
Now that you have successfully set up the driveway channel, it’s important to regularly maintain and care for it to ensure it works reliably and effectively. Proper maintenance will help prevent clogs and keep the channel functioning optimally.
Start by regularly inspecting the channel for any debris or blockages. Remove any leaves, dirt, or other materials that may accumulate and obstruct the flow of water. You also want to ensure that the channel is clear of any obstructions such as large rocks or branches.
Regularly flushing the channel with water can also help clear any buildup and maintain its efficiency.
It’s also a good idea to consider applying a sealant to the channel to prevent corrosion and extend its lifespan.
By regularly maintaining your driveway channel, you can ensure its long-term effectiveness and durability and prevent water pooling in your driveway or yard.
Frequently Asked Questions
Can I install a driveway drainage channel on my own or should I hire a professional?
While it is possible to install a driveway channel yourself, you will need to proper equipment and to make sure that it is done correctly.
An expert drainlayer will know exactly what to do to install your driveway channel correctly and ensure that it is sufficient for the requirements of the property.
How deep should the drainage channel be installed to effectively prevent water buildup on my driveway?
This will depend on the specific requirements of the property and how much water needs to be channeled away. You will need to assess this and select an appriate drain for the amount of water that needs to be channeled away. This is something that an experienced drainlayer would be able to accurately assess.
Is it necessary to slope the driveway surface towards the drainage channel, or can it be installed on a flat surface?
It is necessary to slope the driveway surface towards the drainage channel to ensure effective water drainage. Installing the channel on a flat surface may lead to water buildup and potential damage.
Can I use a different material for the drainage channel, or is there a specific type of material that works best?
Using a different material for the drainage channel is possible, but there is a specific type of material that works best. It is important to choose a material that is durable, corrosion-resistant, and designed for efficient water flow.
Need a Driveway Channel Installed On Your Property?
As expert drainlayers, we are able to design and install driveway channels for all types of properties both commercial and residential.
If you need a driveway channel and you don’t want to get down and dirty, give us a ring today on 022 444 6474 or email info@complexplumbing.co.nz!